How to Put Video on iPod
Software Requirement: iPod Movie Converter.
Make Preparations: Download Aiseesoft iPod Movie Converter and run it.
Step 1. Add files.
Click “Add File” to add your video files.
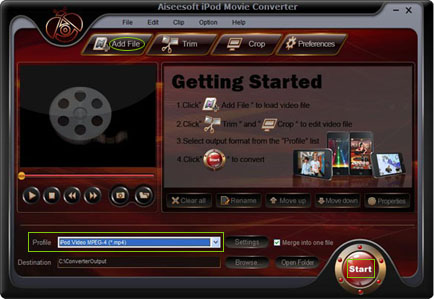
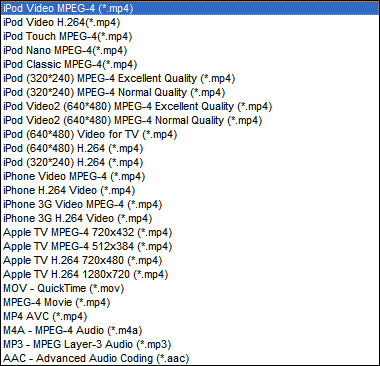
Step 2. Set output video format.
Click “Profile” button from the drop-down list to select the output video format MP4, M4A, MP3, AAC exactly for your player. You can click the “Settings” button to set parameters of your output video such as Frame Rate, Bitrate to get the best video quality as you want.
Step 3. Click the “Start” button to start the conversion.
Tips:
1. How to join your video
If you want to merge several videos into one file you can choose them and click the “Merge into one file” to do it.
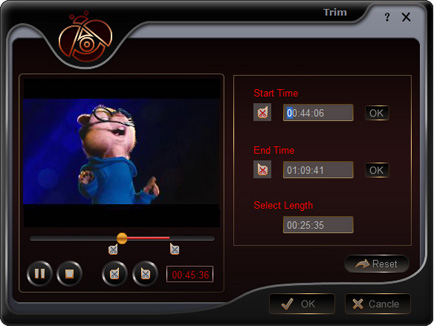
2. How to split your video
The “Trim” function also servers as a video splitter. You can set the “Start Time” and “End Time” to set the time of the clip or you can directly drag the slide bar to the accurate position.
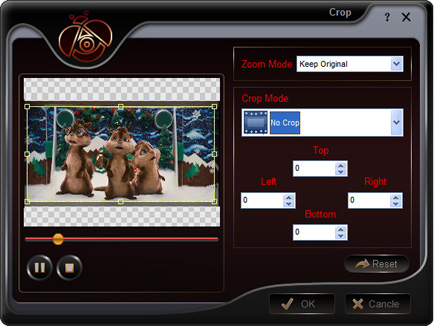
3. How to crop your video size
By using the “Crop” function you can crop the black edge of your video and you can also drag the line around the video image to adjust your video to your mobile devices.
Before you start to crop your video, you can select an output aspect ratio from the Zoom list. There are four choices available: Full screen, Keep original, 16:9 and 4:3. After you select an output aspect ratio and finish the crop, the result can be previewed in the Preview window of the program main interface.
4. How to save your favorite picture
If you like the current image of the video you can use the “Snapshot” option. Just click the “Snapshot” button the image will be saved and you can click the “Open” button next to “Snapshot” button to open your picture.
Software Requirement: iPod Movie Converter.
Make Preparations: Download Aiseesoft iPod Movie Converter and run it.
Step 1. Add files.
Click “Add File” to add your video files.
Step 2. Set output video format.
Click “Profile” button from the drop-down list to select the output video format MP4, M4A, MP3, AAC exactly for your player. You can click the “Settings” button to set parameters of your output video such as Frame Rate, Bitrate to get the best video quality as you want.
Step 3. Click the “Start” button to start the conversion.
Tips:
1. How to join your video
If you want to merge several videos into one file you can choose them and click the “Merge into one file” to do it.
2. How to split your video
The “Trim” function also servers as a video splitter. You can set the “Start Time” and “End Time” to set the time of the clip or you can directly drag the slide bar to the accurate position.
3. How to crop your video size
By using the “Crop” function you can crop the black edge of your video and you can also drag the line around the video image to adjust your video to your mobile devices.
Before you start to crop your video, you can select an output aspect ratio from the Zoom list. There are four choices available: Full screen, Keep original, 16:9 and 4:3. After you select an output aspect ratio and finish the crop, the result can be previewed in the Preview window of the program main interface.
4. How to save your favorite picture
If you like the current image of the video you can use the “Snapshot” option. Just click the “Snapshot” button the image will be saved and you can click the “Open” button next to “Snapshot” button to open your picture.
Articles
- How to Download Videos from YouTube
- How to Transfer Music from iPod to Computer
- How to put Video on iPod
- How to convert .Mod files
- How to convert Videos
- Convert Video for Sansa Fuze
- How to convert YouTube video files to PSP
- Convert Video to MP4 on Mac
- How to download Limewire Video to iPod
- How to watch iPod Video on large screen TV
- Learn More Article and Guide

Latest News
partner